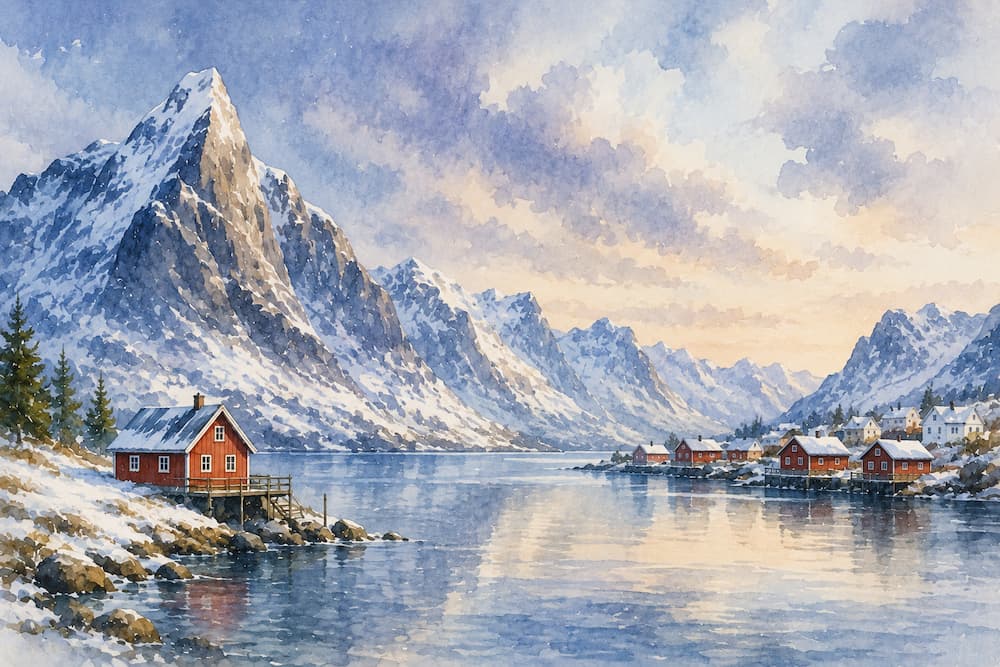
If you want to learn how to paint a landscape with watercolor but don’t know where to start, here’s a step-by-step guide designed for beginners. We’ll go from the basic materials to the final details, so you have a solid foundation before you dive into the paper.
Before painting a landscape with watercolor, it’s worth gathering a few basic materials, because the result depends as much on technique as on the tools you use. Low-quality paper, for example, buckles with water and makes the work much harder, so it’s worth investing there.
With these items you can already start practicing; later on, if landscapes hook you, you can always expand your palette with more specific colors.
Before applying color, lightly pencil in the main lines of the landscape: the horizon, the masses of mountains or trees, and a foreground element. There’s no need to add detail, just mark where each area goes so you don’t get lost once the brush is wet.
If you want to leave any pure white —a cloud, a reflection on the water—, set it aside with painter’s tape or masking fluid before painting. This lets you work freely on the rest of the paper without fear of losing those light areas.
The sky is usually the first thing painted in a landscape, because it sets the overall tone of the whole composition. First wet the paper with clean water in the sky area and, while it’s still damp, drop in blues and a touch of gray for the clouds.
Working on wet paper lets the colors blend naturally, without hard lines between them. If you prefer a more dramatic sky, tilt the paper slightly so the pigment shifts on its own and creates organic shapes.
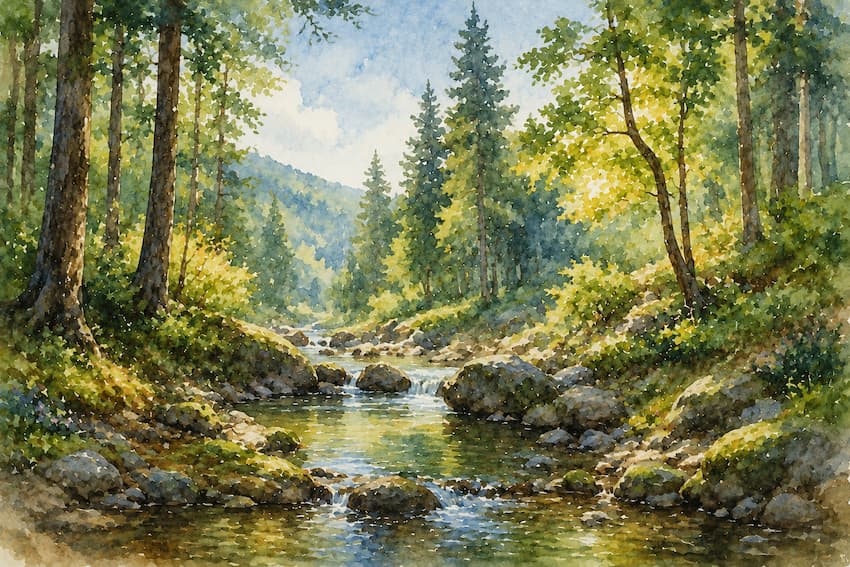
The wet-on-wet technique involves applying paint onto an area of the paper that’s still wet, letting the colors blend into each other without full control. It’s the basis for achieving that characteristic sense of depth in watercolor landscapes, especially in the background of the scene.
The farther away an element is, the more diluted and cool its color should be; as you move toward the foreground, the paint can carry less water and warmer tones. This contrast between a blurred background and a defined foreground is what creates a real sense of distance within the painting.
Heavily diluted blues and violets make a mountain look distant, even without drawing too much detail. It’s a widely used trick in landscape painting because it mimics how we actually perceive color at a distance—more muted and bluish.
Ochres, intense greens, and browns work better in nearby areas, where it’s worth showing a bit more texture and detail. Layer short strokes of color once the previous one has dried, so the foreground doesn’t lose sharpness.
Water is one of the elements that intimidates beginners the most when painting a watercolor landscape, although it actually follows simple logic: it reflects what’s above it. Before painting it, look at which colors dominate in the sky and in the elements near the shore, because those same tones should appear, somewhat more muted, in the reflection.
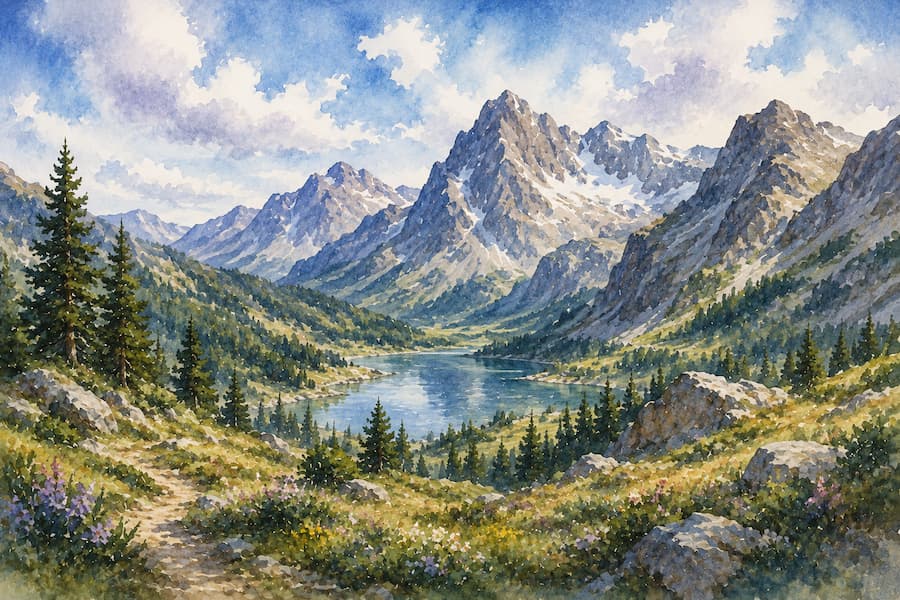
Trees and bushes are usually painted last, once the rest of the landscape is dry, so they can be defined precisely against a stable background. Apply the canopy with loaded brush strokes, alternating greens and a touch of ochre, without covering the whole surface at once.
Leave some gaps unpainted between the leaves, since those small patches of blank paper add light and keep the vegetation from looking like a uniform blob.
Most beginner mistakes have more to do with impatience than with a lack of skill, so it’s worth identifying them from the start.