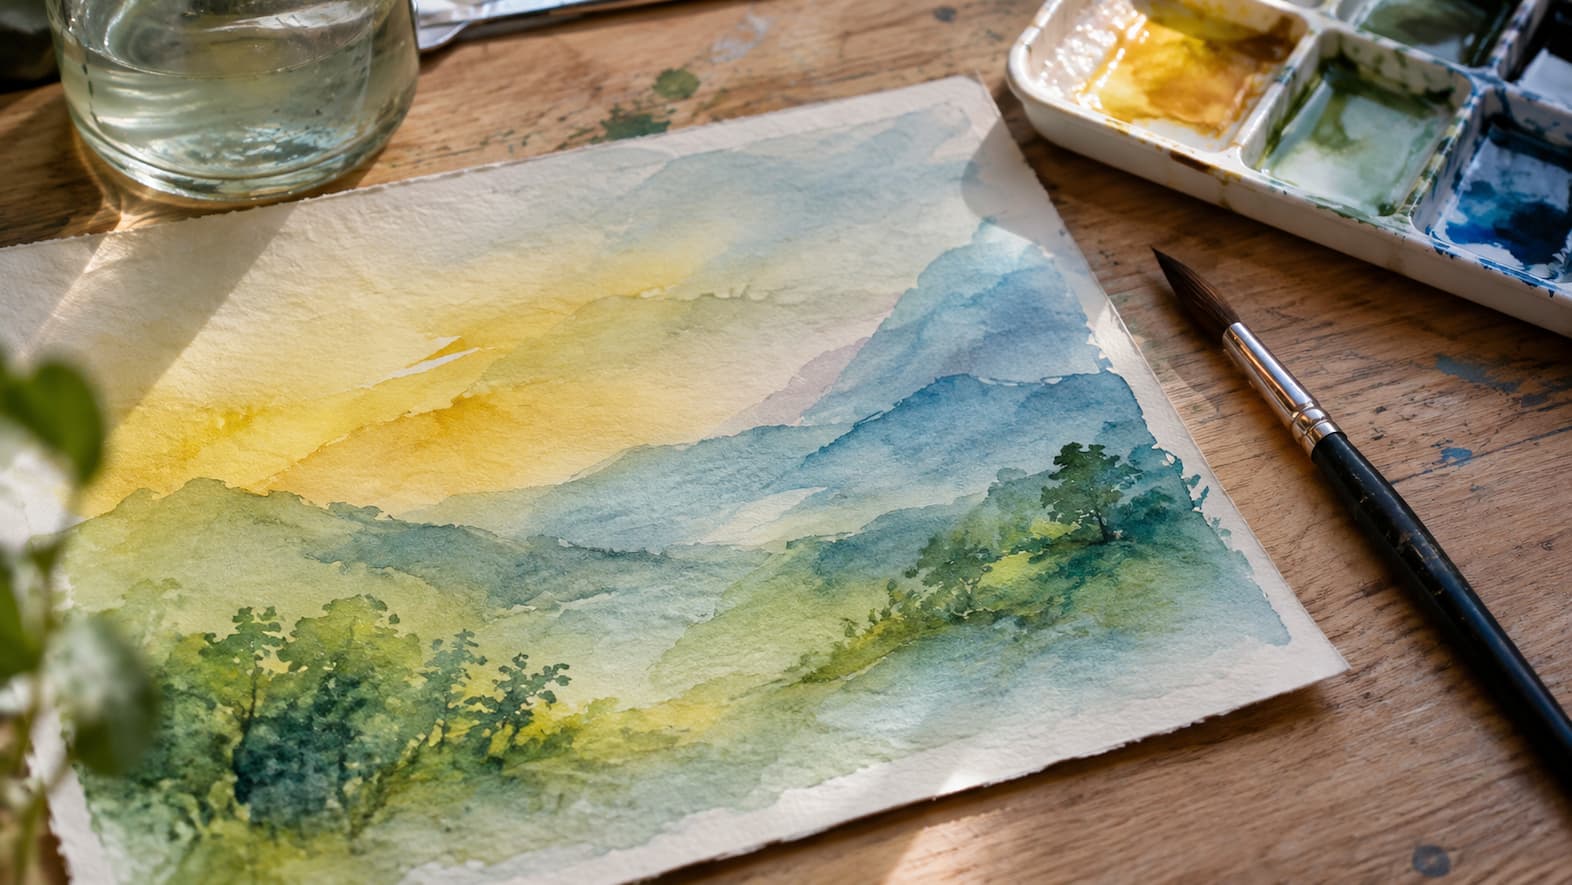
Have you ever seen a watercolor painting with an almost translucent glow and wondered how it was achieved? Often, the secret lies in glazing. In this article, I’ll explain how to apply glazes step by step.
What Are Glazes in Painting?
Glazes are very thin, transparent layers of color applied over a previously dried layer of paint. Their purpose is not to cover what lies beneath, but to subtly modify it, as if you were placing a sheet of colored cellophane over a drawing.
This technique has a history spanning centuries. Old Masters such as Vermeer and Rembrandt used glazing in oil painting to achieve luminosity and depth in their works. Today, it is used in watercolor, acrylic, oil, and even decorative wall painting. In every case, it is based on the same principle of layering transparent colors.
Glazing, Glazing Layers, and Glacis: Are They the Same?
In practice, yes. Glazing and glacis are other terms used to describe the same technique, particularly in texts translated from English or French, while the Spanish term veladura is more commonly used in Spanish. If you come across any of these terms in a book or course, they refer to a translucent layer of color applied over a dry one.

How Do Glazes Work in Watercolor?
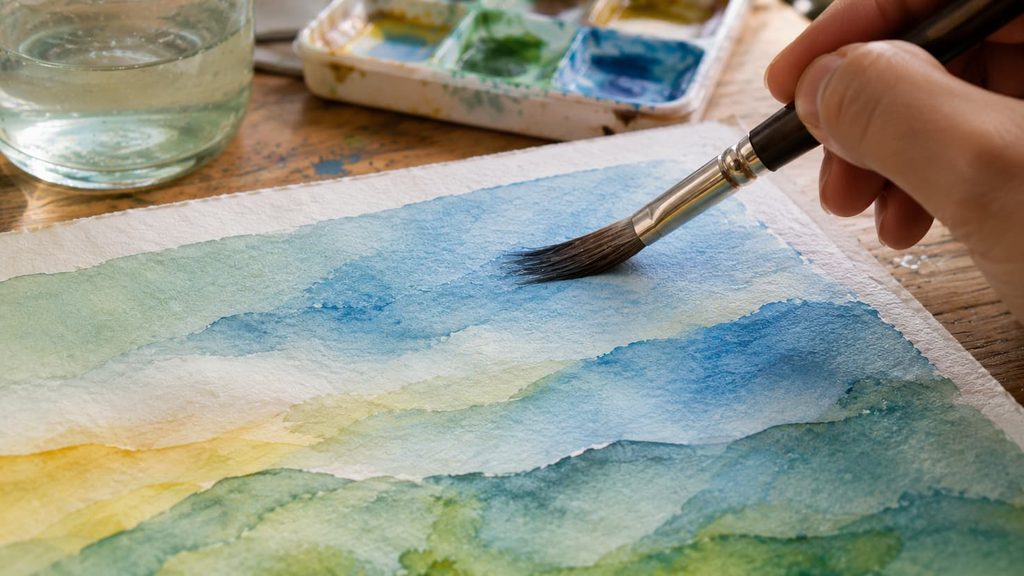
Watercolor is naturally transparent, making it the ideal medium for glazing. Light passes through the layer of paint, reflects off the white paper, and travels back to your eyes carrying the color. This is why the tones appear so luminous.
When you apply a second layer, an optical mixture occurs: instead of mixing the pigments on your palette, your eye combines the color underneath with the one on top. A yellow covered with a blue glaze appears green, but with a different vibrancy than a green mixed before painting.
This difference is what gives a painting its richness. A color applied in a single, thick layer looks flat and more opaque, while several thin glazes create subtle variations, depth, and that sensation of light seemingly coming from within the paper.
What Are Glazes Used For?
Using glazes in watercolor gives you precise control over color and light. Here are some of the situations in which they are most useful:
- Adding depth: Each layer increases intensity and makes colors appear richer.
- Adjusting a tone: You can cool, warm, or darken an area without repainting it from scratch.
- Creating atmosphere: A light glaze over the background helps suggest fog, distance, or sunset light.
- Unifying the painting: An overall glaze harmonizes colors that previously seemed disconnected.
How to Create Watercolor Glazes Step by Step
The process is simpler than it seems, but it requires patience and a little organization. Before painting, it is worth making sure you have the right materials and allowing each layer to dry properly before applying the next.
Materials for Glazing
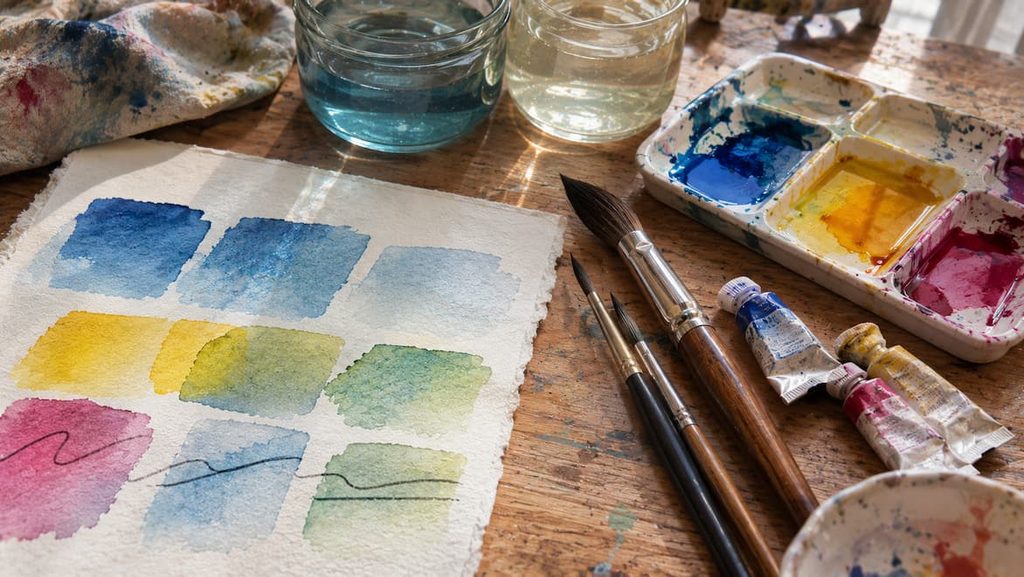
You do not need any special equipment, although certain materials can make a significant difference to the final result. Have the following ready:
- 300 gsm cotton watercolor paper, which can withstand several layers without warping excessively.
- A soft-haired brush, either a flat brush or a large round brush, to avoid disturbing the underlying layer.
- Transparent or semi-transparent pigments.
- Two water containers, one for cleaning and the other for diluting, along with absorbent paper.
- A separate sheet of paper to test the color before applying it.
How to Apply the First Layer
Start with a light, highly diluted wash of your base color and let it dry completely. This first layer will provide light for everything that comes afterward, so avoid loading it with too much pigment.
To check whether the paper is dry, touch the back of the sheet. If it feels cool, there is still moisture. Although watercolor paint can dry within a few minutes, cotton paper and humid environments can extend this time.
How to Layer Colors Without Lifting the Underlying Paint
Prepare the new color very dilute, with a consistency similar to weak tea, and load your brush sparingly. Apply it using gentle, confident strokes, without pressing down or going over the same area again.
Every time you repeat a stroke over a damp layer, the pigment underneath is disturbed, creating blooms or muddy patches. If you make a mistake, it is better to let the paint dry and correct it with another glaze than to keep working the area with your brush.
Work from light to dark and limit the number of layers: two or three are usually enough. Too many glazes can make the color look dull and cause it to lose the freshness that is characteristic of watercolor.
Transparent Pigments for Watercolor Glazing
Not all pigments behave the same way when diluted. Transparent pigments, such as quinacridones or phthalo blue, allow light to pass through and are the most suitable for glazing. Opaque pigments, such as cadmiums or certain ochres and oxides, tend to cover what lies beneath.
To find out how a particular color behaves, check the label on the tube or pan. Many manufacturers indicate whether a pigment is transparent, semi-transparent, or opaque. You can also perform a quick test by painting a line over a mark made with a permanent black marker. If the mark remains visible, the pigment is transparent.
In addition, artist-grade watercolors usually contain more pigment and fewer fillers, which is especially beneficial when you are aiming for transparency.
Common Mistakes When Glazing with Watercolor
Most glazing problems come from rushing or loading the brush with too much paint. Keep these mistakes in mind to avoid them from your very first practice session:
- Applying a new layer before the previous one has dried.
- Using too much paint and losing transparency.
- Scrubbing or going over the same area repeatedly with the brush.
- Working with opaque colors that cover the underlying layer.
- Applying so many layers that the color becomes muddy.
Glazing in Oil and Acrylic: What Are the Differences?
The principle is the same across all techniques, but the medium used to dilute the paint and the drying time vary. Here are the main differences.
Oil Glazing
In oil painting, the paint is diluted with a medium, such as linseed oil or a dedicated glazing medium, and applied over a dry layer. Artists generally follow the fat-over-lean rule, meaning that the amount of oil increases with each layer to prevent cracking.
Drying is slow and can take several days between layers, so it is worth planning your work in advance. In return, oil painting allows for exceptionally deep and luminous glazes.
Acrylic Glazing
In acrylic painting, a transparent acrylic medium, either gel or liquid, is used to dilute the color without compromising adhesion. Acrylics dry quickly, making it convenient to apply several glazes in a single session.
A Simple Exercise to Practice Glazing at Home
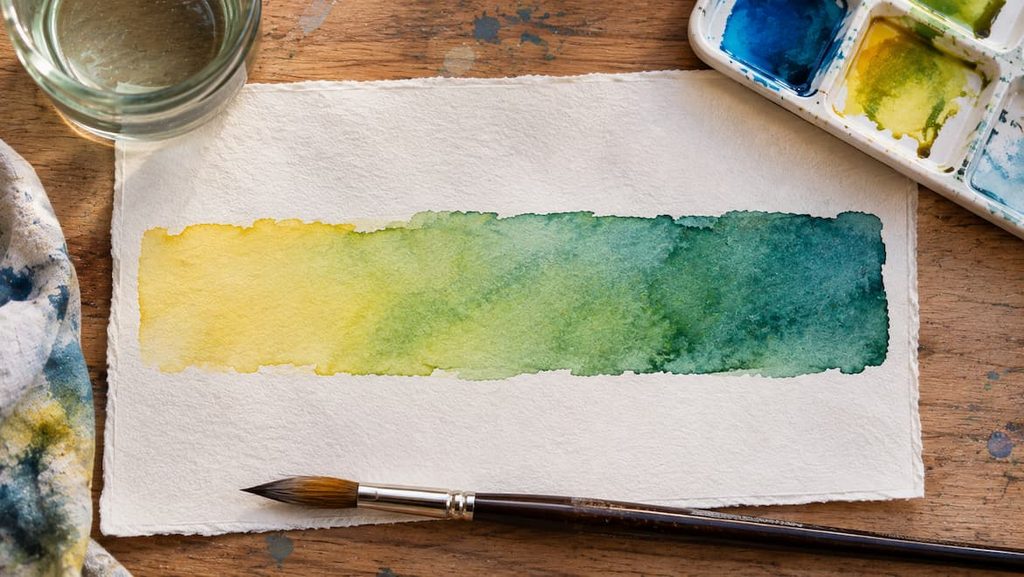
Paint a long strip of highly diluted yellow and let it dry. Then cover two-thirds of the strip with a blue glaze. Once it has dried, apply a second blue glaze over just one-third of the strip.
When you finish, you will have three different color areas using the same pair of pigments, and you will see how the result changes with each layer. Repeat the exercise with other color combinations and make a note of the ones you like best. This small color chart will serve as a reference when you create your own watercolor glazes.