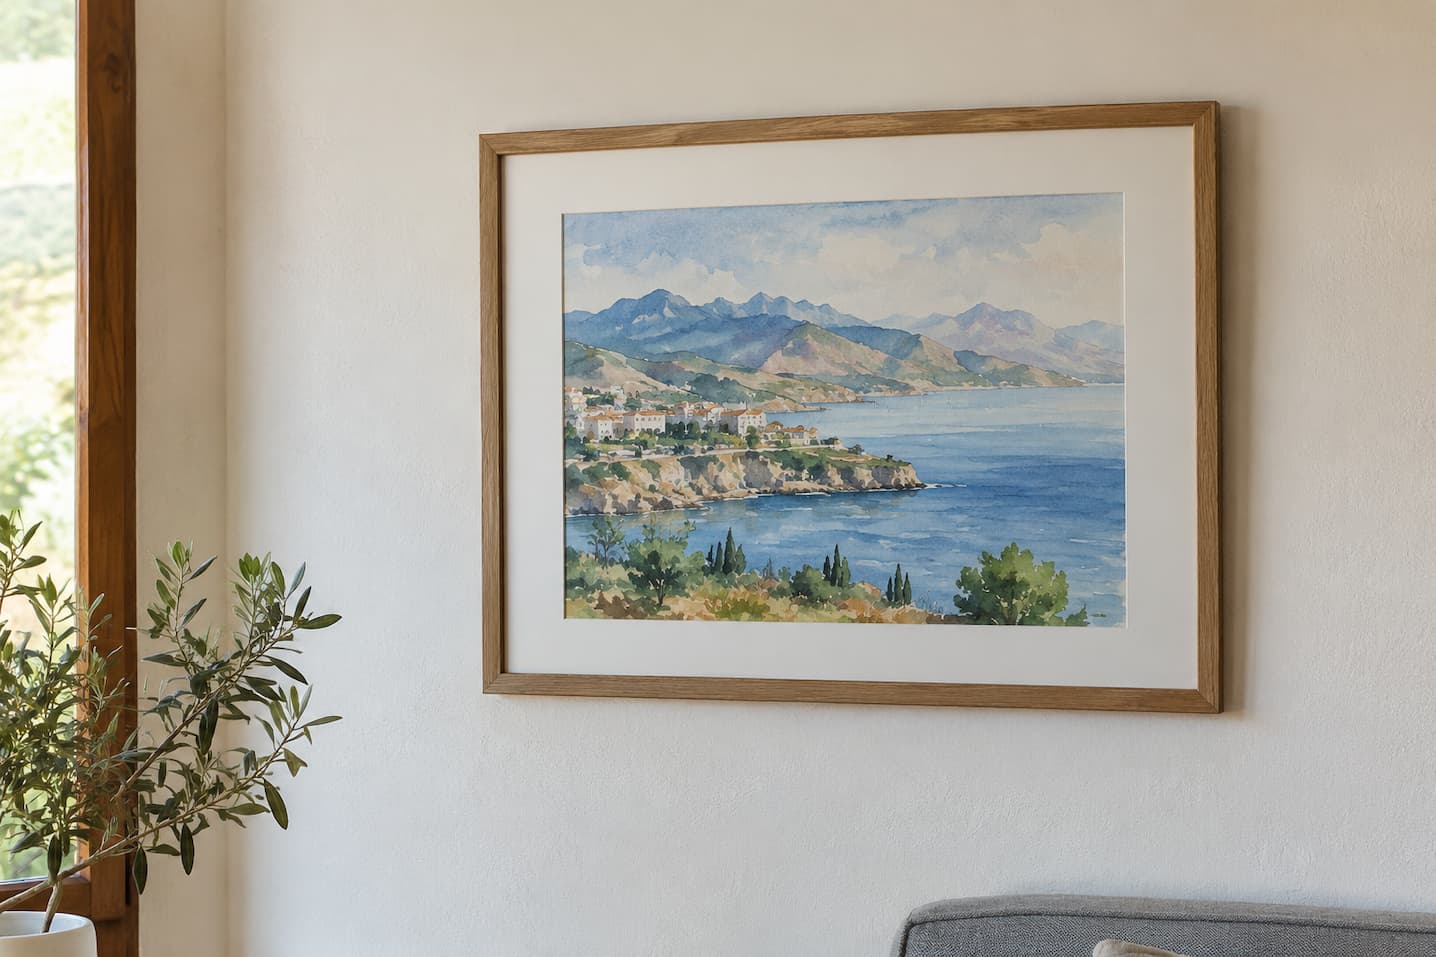
Is your watercolor already dry and ready to hang, but you’re unsure whether to use any frame or one specifically designed for paper? Here is the correct order for framing it without causing stains, warping or color fading.
Unlike an oil or acrylic painting, a watercolor does not have a varnish protecting its surface. The pigment sits on the fibers of the cotton paper, so any rubbing, contact or change in environmental conditions can affect it directly.
The paper absorbs moisture, expands and contracts with temperature changes, and is also sensitive to ultraviolet light. For this reason, framing a watercolor is not just a decorative decision: improper mounting can cause warping, stains, mold or faded colors over the years.
Before handling the artwork, it is worth knowing which components make up a conservation-quality frame. Not everything needs to be museum-grade, but every element that comes into contact with the paper should be neutral and stable.
A mat board is not just decoration: it creates an air cushion between the watercolor and the glass. If the two come into contact, moisture can condense in that area, which is one of the most common causes of mold and paper sticking to the glass.
Look for acid-free mat board (also called conservation mat board), because ordinary cardboard releases acids over time and causes the paper to yellow. As for the dimensions, a width of 5 to 7 cm usually works well for medium-sized formats, and it is often a good idea to make the bottom margin slightly wider than the side margins so the composition looks balanced. White or off-white are the safest colors, as they do not compete with the painting.
Standard glass is the most affordable and offers the most accurate color rendition, but it acts like a mirror when facing windows and spotlights. Standard anti-reflective glass reduces these reflections, although with a mat board it can create a hazy effect that reduces the definition of washes and paper texture.
The most complete option is museum glass, which combines high-quality anti-reflective treatment with UV protection. It is more expensive, but it allows you to see the artwork almost as if there were no glass and slows down pigment fading, which is cumulative and irreversible.
If the watercolor is large or will be transported, UV-filtering acrylic is a lighter and more impact-resistant alternative. However, it scratches more easily and generates static electricity, which attracts dust, so it should be cleaned with specific products and kept from rubbing against the painted surface.
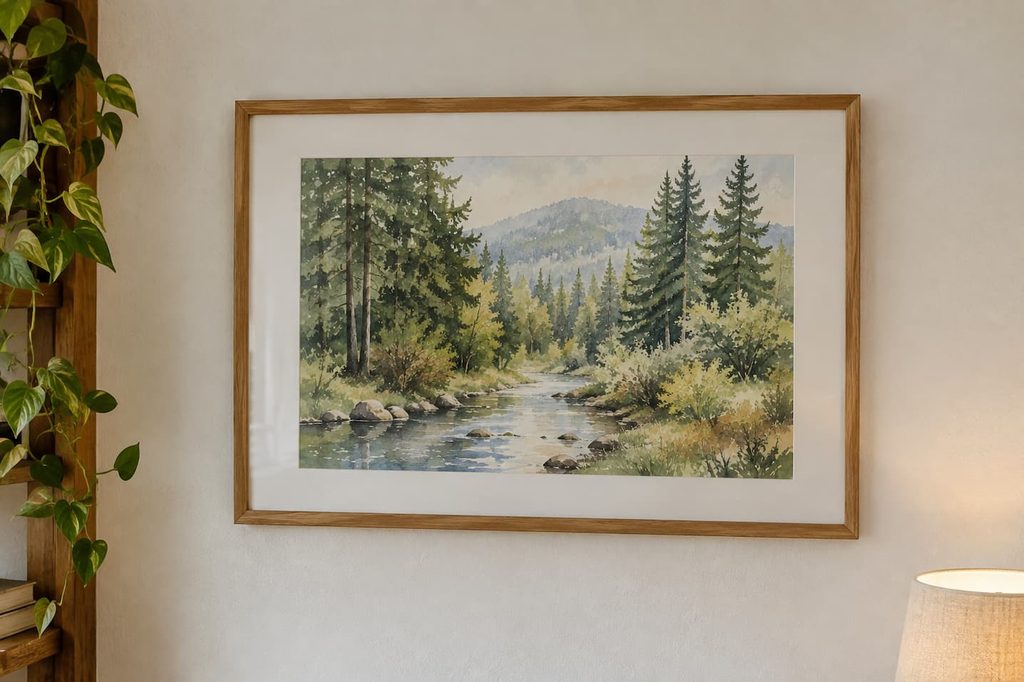
Once you have the materials ready, the order in which you work is just as important as the materials themselves. These four steps cover the basic process of framing a watercolor at home or help you understand what your framer should do.
Make sure the watercolor is completely dry, including on the reverse side. If you worked with a lot of water, give it more time than you think it needs before sealing it inside a frame.
Remove surface dust with a soft, dry brush without rubbing. Handle the paper with clean hands and, if possible, hold it by the edges to avoid leaving grease on the surface.
If the paper became warped after drying, do not force it flat. One cautious option is to very lightly dampen the reverse with distilled water, place it between acid-free blotting papers and put a flat, even weight on top; if the artwork is valuable, it is better to leave this to a professional framer. Never wet the painted side or use an iron, as direct heat can alter the pigments and make the fibers brittle.
This is the most important rule to follow: watercolor paper needs to be able to move as humidity levels change. That is why it should only be attached along the top edge using Japanese paper hinges and starch paste, or reversible conservation tape, while the rest remains free.
Avoid dry mounting and ordinary adhesive tape. The former permanently flattens the paper and creates tension and deformation, while the latter yellows and leaves residues that cannot be removed without damaging the artwork.
From front to back, the order is: clean glass, mat board, watercolor with its hinges, and rigid backing. Close the frame with even pressure, without forcing it, and check that the paper is not touching the glass anywhere.
Cover the reverse with kraft paper tape to reduce the entry of dust, insects and moisture. Besides providing protection, it gives the back of the artwork a clean finish.
Finish with a hanging system capable of supporting the actual weight of the finished piece, especially if the glass is thick. A poorly secured picture is a risk to both the artwork and anyone walking nearby, so use wall anchors appropriate for the type of wall.
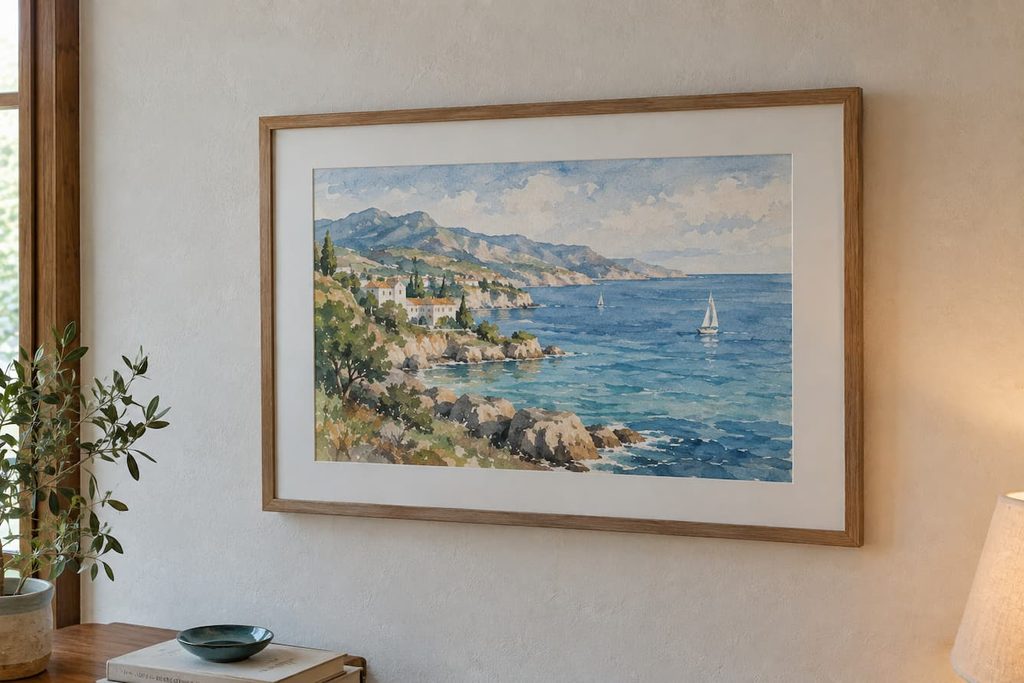
Mat mounting is the classic option: a cardboard window covers a few millimeters of the paper’s edge and directs the eye toward the center of the composition. It is the best solution if the edges have pigment stains, masking tape marks or uneven cuts.
With float mounting, the entire sheet of paper remains visible, including its natural edges, making the watercolor appear to float above the backing. This works particularly well with cotton papers that have deckled edges, although it requires a frame with a deep rabbet or spacers to keep the glass separated, since there is no mat board to perform this function.
If you’re unsure, look at the paper itself: a beautiful edge deserves to be shown, while an imperfect edge or one with tape marks is better hidden behind a mat.
Simple profiles tend to work better with watercolors than highly ornate ones because they allow the transparency of the color to take center stage. Light wood, white and slim aluminum work well with modern or minimalist pieces, while natural wood with a soft-colored mat complements a landscape or botanical watercolor better. Choose the frame based on the artwork and the wall where it will hang, not the other way around.
Most damage does not appear on the first day, but two or three years later, when it is already difficult to correct. These are the mistakes that occur most often:
Avoiding these five points already solves most of the common problems. Everything else comes down to personal taste: frame size, mat color and overall style.
Even with UV-filtering glass, direct sunlight will eventually fade pigments, only more slowly. Ideally, choose a wall with plenty of ambient light but without a beam of sunlight hitting it every afternoon.
It is also best to avoid kitchens and bathrooms, where humidity rises and falls several times a day and the paper moves each time. A living room, bedroom or office with stable conditions is much safer for a framed watercolor.
If the artwork is special or you would rather not take the risk, look for a fine-art framer rather than a workshop that only frames photographs or certificates. With a few clear requests, you will quickly know whether they work according to conservation principles:
If the framer understands these terms without you having to explain them, that is a good sign. If they suggest gluing the artwork or using ordinary cardboard, it is better to look elsewhere: a properly framed watercolor can remain in good condition for many years.