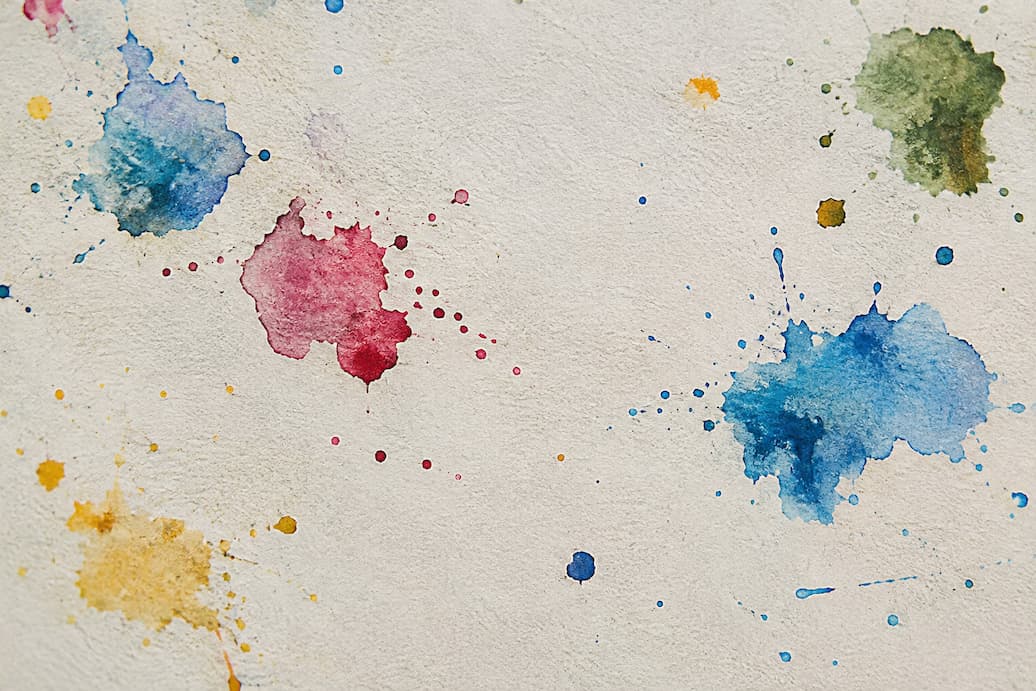
When a watercolor painting looks flat, it’s almost always because it’s missing visual texture — that small detail that catches the eye and brings the painting to life. In this article, I’ll walk you step by step through different ways to add texture to watercolor, from water-based techniques to household materials you probably already have at home.
Before adding texture, it helps to have the right watercolor paper, since a lot of the final result depends on it. Paper with a high weight, between 300 and 425 grams per square meter, holds up better to water and the materials you’ll be applying to the surface without warping or tearing.
This is the foundation of almost any watercolor texture, since water is what determines how the pigment moves across the paper. Wet the area you’re going to paint and, while the paper is still glistening, drop in color with your brush; you’ll see it spread on its own, forming soft edges and organic blooms.
If you’re looking for a more defined line instead, apply a paint-loaded brush directly onto dry paper. The result keeps some fluidity but with much crisper edges, ideal for adding detail over an already textured base. Combining both techniques in the same piece usually gives the most interesting effect, since it creates contrast between soft areas and defined ones.
To achieve this effect, all you need is a watercolor wash and a clean brush with water. Paint the base, wait for it to lose its shine without fully drying, and touch the surface with small drops of clean water. The water pushes the pigment toward the edges and creates shapes that resemble petals — a very distinctive texture that’s easy to repeat.
Sprinkle fine salt over the paint while it’s still wet and wait for it to dry completely before brushing it off with your fingers. The salt absorbs some of the water and pigment around it, leaving small star-shaped marks that work really well on skies, backgrounds, or rocky textures.
Draw with a white crayon or candle on the paper before applying color; the wax repels water and protects those areas from the pigment. When you paint the wash over it, the drawing stays reserved in white, with a grainy finish that also works well for simulating highlights or plant textures.
A few drops of alcohol on paint that’s still wet create the opposite effect of salt: instead of dark spots, light, bleached-out marks with irregular edges appear. It’s worth practicing on scrap paper first, since the amount of alcohol greatly affects the size and intensity of the mark.
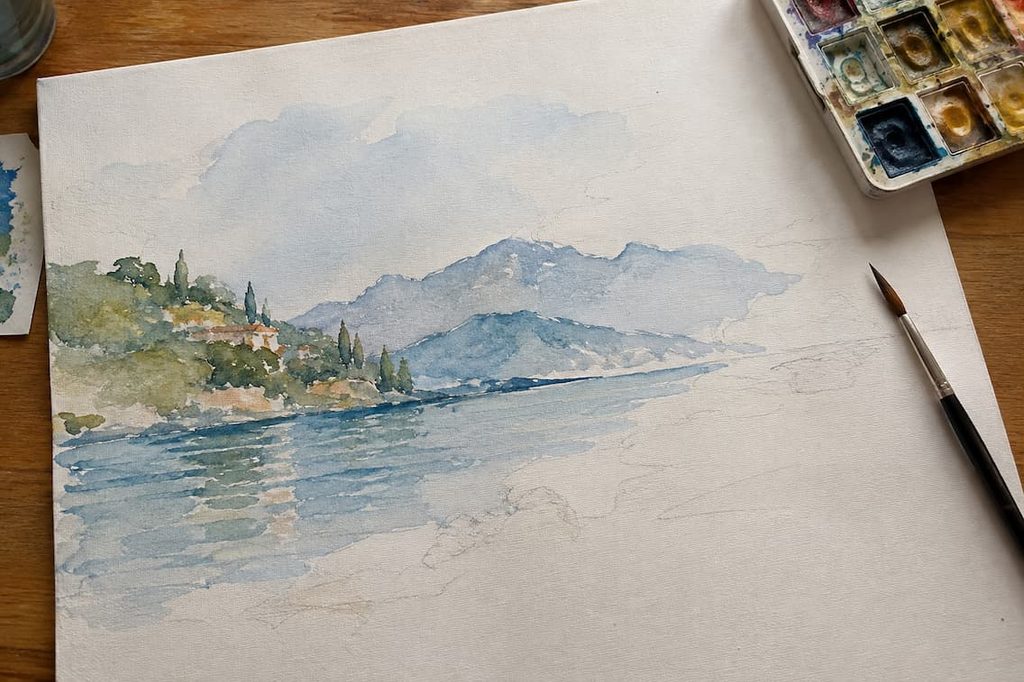
Dampen a clean sponge with diluted paint and dab it gently onto the paper at different angles, without dragging the material. This technique is perfect for representing foliage, rocks, or any organic texture that needs variation in intensity without looking uniform.
Apply a generous watercolor wash and, before it dries, place a piece of crumpled plastic or plastic wrap on top, pressing lightly so the pigment gathers along the material’s creases. Let it dry completely without moving the plastic, since shifting it too soon can smudge the effect.
Once removed, you’ll find a network of lines and geometric shapes that’s very useful for abstract backgrounds, rocky textures, or even moving water. The stiffer the plastic you use, the sharper the final marks will be.
Once the paint is completely dry, you can scrape the surface with a plastic card, the handle of a brush, or even a spoon to lift off a thin layer of color. The result is a worn effect that works very well for simulating wood, stone, or aged surface textures.
Another option is splattering paint: load your brush and tap it gently against your finger, letting the drops fall randomly onto the paper. This splatter adds movement and fine texture, ideal for forest backgrounds, sand, or any scene where you want a less uniform finish.
Before you start practicing, it’s worth keeping in mind a few common mistakes that ruin the texture effect instead of enhancing it.