If you’ve just bought your first box of watercolors and aren’t quite sure where to start, this article is a good place to begin. Below you’ll find six basic watercolor techniques, explained step by step, so you can put them into practice from your very first painting session.
What do you need before applying these watercolor techniques?
To master any watercolor technique you first need the right materials, because low-quality paper or a brush that doesn’t absorb well can ruin even the best-executed technique. Watercolor paper of at least 300 grams is the recommended standard, since it withstands moisture well without warping or tearing when you apply several layers of water.
- Watercolor paper of 300 g/m² or more, fine or medium grain depending on the level of detail you’re after
- Round brushes made of synthetic or natural hair, in at least two different sizes
- A palette with pigment pans or tubes, two containers of clean water, and absorbent paper
1. Wet-on-wet: the most fluid watercolor technique
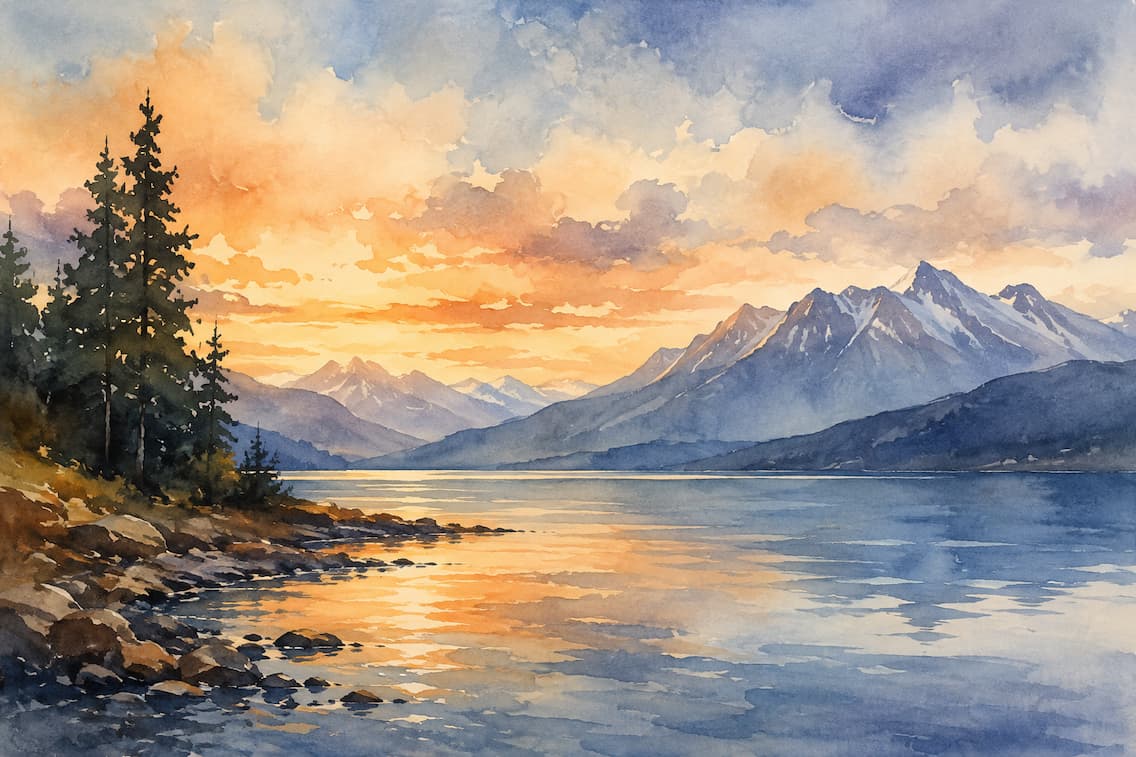
The wet-on-wet technique involves first wetting the paper with a clean brush, waiting a few seconds for the water to spread evenly and, before it evaporates, applying pigment onto that wet surface. The color spreads on its own, without you having to force the stroke, and it’s precisely that spontaneous movement that gives watercolor its most organic character.
This technique is ideal for sky backgrounds, sunsets, or any area where you want smooth transitions between colors without hard edges. Keep in mind that the result depends heavily on how much water you use: if the paper is too soaked, the pigment will dilute too much, and if it’s nearly dry, you’ll lose the blurred effect that characterizes this technique.
2. Wet-on-dry: full control over the paint
Unlike the previous one, the wet-on-dry technique is applied on completely dry paper, giving you much more control over where the pigment settles. To practice it, lightly dampen the brush, load it with color, and apply it directly onto the paper: you’ll see that the edge of each brushstroke stays well defined, without the paint spreading into areas you don’t want to touch. It’s the technique most used when you need to add details, specific shadows, or precise lines over an already dry base.
3. Dry-on-dry: texture and detail in your watercolors
The dry-on-dry technique, also called dry brush, is done by loading the brush with very little water and quite a lot of pigment, and running it over paper that is also dry. The result is a grainy, rough texture that lets some of the paper’s white show through between the bristles, something you wouldn’t achieve with any of the previous techniques.
Before applying the color, remove excess water from the brush with a cloth or absorbent paper and, if you want to accentuate the texture even more, gently separate the bristles with your fingers. This technique works especially well on coarse-grain paper, because the surface’s texture interrupts the stroke naturally.
When should you use dry-on-dry?
Turn to this technique when you want to depict elements like grass, wood, stone, or any surface with visible texture, since the grainy effect mimics these materials very well. It’s also useful for adding the final touches to a piece, once your base layers are dry and you only need to reinforce a few specific details.
4. Glazes and washes for adding depth
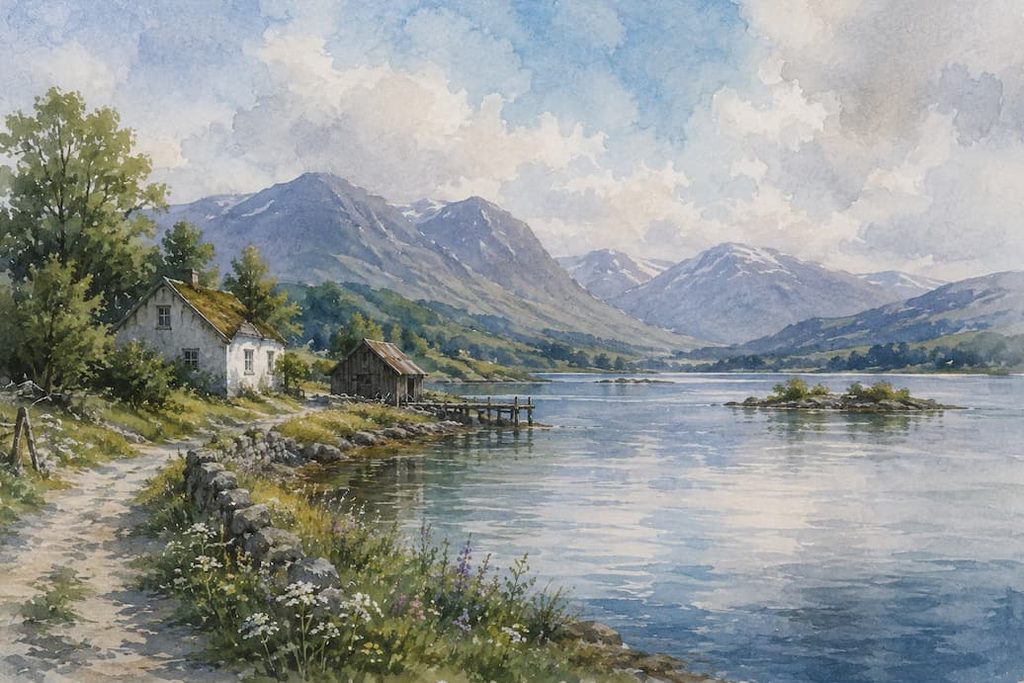
A wash is a thin, even layer of diluted color spread over a broad area of the paper, and it’s usually the first step in almost any watercolor painting. When you layer several washes, once they’ve dried, we call it glazing, and it’s precisely this layering of transparent coats that gives watercolor its characteristic sense of depth and light.
Flat wash
To do a flat wash, prepare enough of a water-and-pigment mixture before you start, tilt the paper slightly, and apply the color with continuous horizontal brushstrokes, working from top to bottom, without lifting the brush too much between strokes. The goal is to cover the whole area with a uniform tone, with no visible marks or changes in intensity.
Graded wash
A graded wash is achieved by adding more and more water to the mixture as you go, so the color shifts progressively from more intense to softer. It’s the technique used, for example, to paint skies that lighten toward the horizon, and with a little practice you’ll notice the result improves a lot if you work with the paper slightly tilted.
5. Reserving whites: how do you work with light in watercolor?
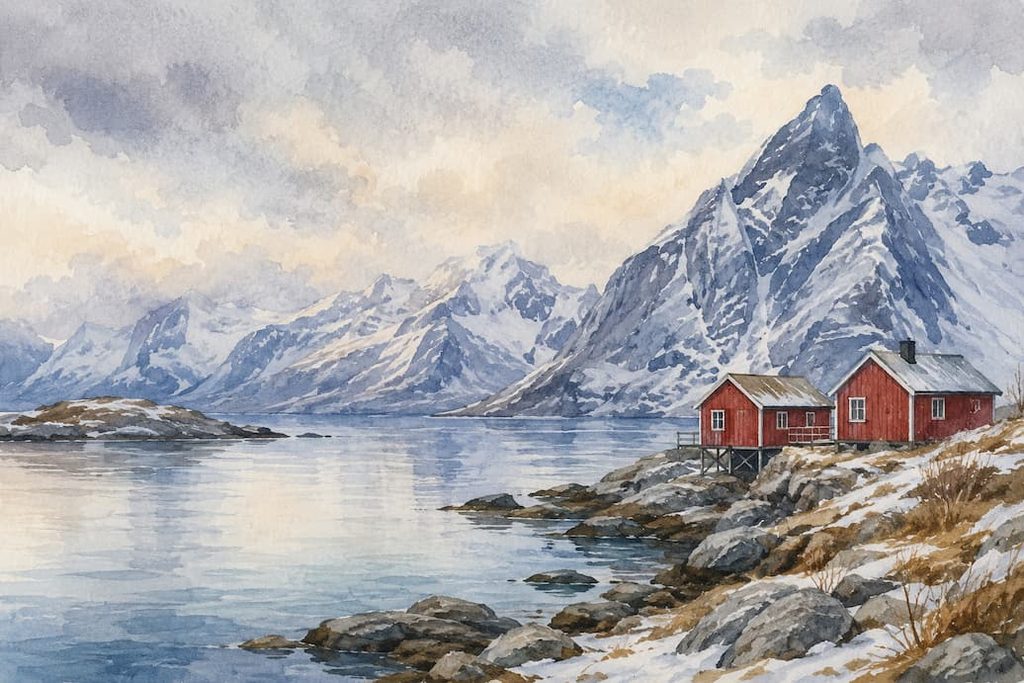
In watercolor you don’t paint with white; instead, you reserve the paper’s own white for the highlight areas, and this is one of the most important differences compared with other painting techniques like oil or acrylic. Planning ahead which parts you’ll leave unpainted is just as important as deciding where you’ll apply color.
There are several ways to reserve whites: you can paint around those areas with the brush without touching them, use a masking fluid that’s removed once the paint has dried, or gently scratch the paper with a palette knife while the color is still wet. Each method has its advantages depending on the level of precision you need.
- Paint around the area, leaving the paper naturally blank
- Apply masking fluid before painting and remove it once the piece is dry
- Lift pigment with a damp brush and absorbent paper while the paint is still fresh
6. Salt texture: a surprising effect
Sprinkling coarse salt over a freshly painted area, while the paper is still wet, is one of the most widely used techniques for creating organic textures almost automatically. The salt absorbs some of the water and pigment around it, leaving irregular, star-shaped marks that, once the paint has dried, come off easily with your fingers. The result is perfect for depicting rocks, snow, foliage, or any texture that needs a touch of natural imperfection.
Tips for combining these techniques and improving your watercolors
None of these techniques is used in isolation in a finished piece: it’s common to combine several of them within the same painting, starting with broad wet-on-wet washes and finishing with dry-on-dry details. Practicing each technique separately, in small exercises, will help you understand how water behaves in each case before applying them to a more ambitious project.
Be patient with drying times, because trying to move too fast is one of the most common causes of colors blending where you don’t want them to. Over time, and by repeating these basic watercolor techniques again and again, you’ll develop your own sense of when to use each one.
- Always start with the lightest areas and move toward the darker tones
- Let each layer dry completely before applying the next
- Practice each technique on scrap sheets before using it on your final piece